Automate AWS-lambda deployment using Github actions for NodeJS/Typescript applications.
In this tutorial, we will go through how to automate AWS-lambda deployment using Github actions for NodeJS/Typescript applications with serverless. I will try to explain in the simplest form.
Before diving into the tutorial let's first understand what we mean by Github actions and AWS-lambda
What is Github action?
Github action is the type of CI/CD (Continuous Integration and Continuous Delivery) platform which helps to automate the deployment, build and test process. It allows creating workflows for example if you need to push your front-end application code to AWS s3 or any other storage services on merging code to master or the main branch you can easily achieve it. Apart from it you can perform code builds, code compiling, code packaging, etc.
What is AWS-Lambda?
AWS Lambda is serverless compute service which we also call a function-based compute service that benefits in saving time and effort of managing infrastructure, with lambda you don't need to worry about managing infrastructure or scaling instances and managing resources. It is all handled by lambda automatically, you just need to focus on writing bug-free code.😛
Let's get started now 🏇.
Create an empty directory .github/workflows in your project root folder and create deploy.yml file.
name: lambda-deployment-with-github-action-test

on:
  push:
    branches:
        main # You can use any of your root or master branch name

jobs:
  lambda-deploy:
  	runs-on: ubuntu-latest
    steps:
      - name: Checkout to repo
        uses: actions/checkout@v2

      - name: Setup node environment
        uses: actions/setup-node@v1
        with:
          node-version: '14.x'

      - name: Install serverless globally
        run: npm install -g serverless

      - name: Configure serverless authentication
        run: sls config credentials --provider aws --key ${{ secrets.AWS_ACCESS_KEY_ID }} --secret ${{ secrets.AWS_SECRET_ACCESS_KEY }}

      - name: Install npm dependencies
        run: npm ci

      - name: Deploy lambda functions
        run: sls deploy --stage staging
Let me explain the workflow and all the variables used in the above YAML configuration.
- name - Used for naming workflows, in our case it's
lambda-deployment-with-github-action-test. - on - Name of the Github event that triggers workflows, in our case, the event is
push. Here, the workflow will start as soon as you merge code in the listed branch which can bemainormasterbranch. - jobs - This is the part where we specify what action we want to do and it can contain multiple jobs as well. In our case, we are using only a single job that triggers lambda deployment actions. The job runs in a runner environment, In our case, we are using, basically, this is the type of machine to run the job.
- steps - This is where we define whats steps to take during the job
Here is what individual steps mean in the above workflow
Step 1: Used to check-out a repository
 - name: Checkout to repo
   uses: actions/checkout@v2
Step 2: Used to setup up server with NodeJS environment and also you can specify the Nodejs version, in our case, we are using 14.x
 - name: Setup node environment
   uses: actions/setup-node@v1
   with:
     node-version: '14.x'
Step 3: We are using a serverless package for deploying to AWS lambda. Setup serverless by installing serverless package globally.
 - name: Install serverless globally
        run: npm install -g serverless
Step 4: Configure serverless authentication
 name: Configure serverless authentication
 run: sls config credentials --provider aws --key ${{ secrets.AWS_ACCESS_KEY_ID }} --secret ${{ secrets.AWS_SECRET_ACCESS_KEY }}
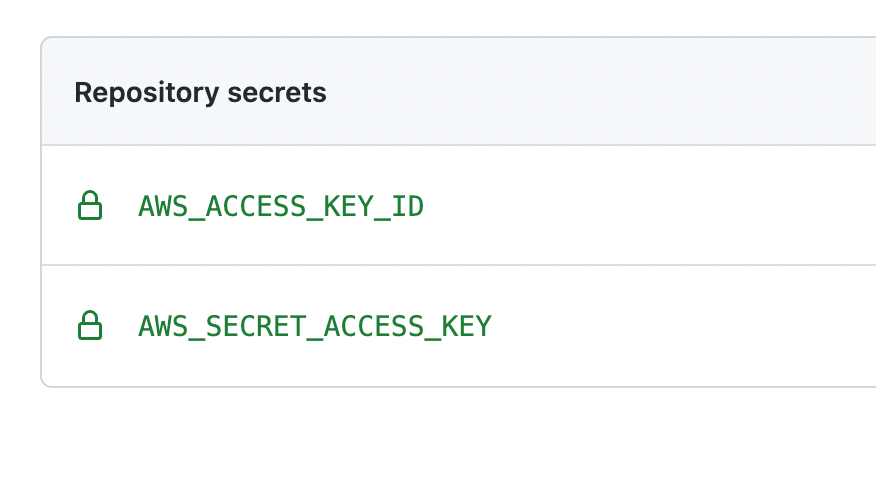
Here I am using the secret variables from Github's repository secret manager. You can access it by navigating in Repository -> Setting -> Secrets and can add secrets and access them in workflows by using secrets.{secret_variable_name }`

Step 5: Install project dependencies. Here npm ci is used to make sure to do a clean installation of dependencies and it is also much faster than normal installation and recommended in cases of automated deployments.
- name: Install npm dependencies
  run: npm ci
Step 6: Trigger the serverless deploy command. Using this step we are telling serverless to deploy the package, here serverless automatically handles packaging your application code into a zip file and uploading it to lambda.
  - name: Deploy lambda functions
    run: sls deploy
You can mention different stages for your API gateway using stage argument. For e.g sls deploy --stage staging for deploying as staging deployment.
After the job is completed you can navigate to the AWS lambda to access the application URL in API Gateway.
Boom, You have successfully automated the NodeJS application deployment with lambda using Github action 🚀😎.
References:
- Serverless: https://www.serverless.com/
- Serverless npm package: https://www.npmjs.com/package/serverless
- Github actions: https://docs.github.com/en/actions/learn-github-actions/workflow-syntax-for-github-actions
Feel free to leave comments.


